
This is Part 2 of our 3 -part series on APrime's LLM Kit. Read Part 1 , Read Part 3 .
This is Part 2 of our three-part series on hosting your own LLM in AWS. See Part 1 for an introduction and Part 3 for an in-depth walkthrough.
Overview
In this guide, we walk you through the process of self-hosting AI models in AWS, leveraging the power of ECS, GPU (graphics processing unit) instances, and Hugging Face’s Text Generation Inference (TGI) service to create a robust and scalable AI deployment. This post focuses on how you can get started with a single GPU instance, while using patterns that allow for both vertical and horizontal scaling down the road.
Prerequisites
Before beginning deployment, make sure you have the following in place.
1. AWS Account
An AWS account is required. New users can sign up at the AWS registration page.
2. AWS Command-Line Interface (CLI)
The AWS CLI must be installed and configured with your account credentials. Refer to the AWS CLI setup guide if you need help.
3. Terraform
Terraform automates the setup process. The quickstart guide includes a script to manage these steps. The guide makes heavy use of AWS community-supported Terraform modules.
4. Quota Increase for GPU Instance
To run AI models efficiently, you’ll need a GPU instance and would be required to request a quota increase. The g4dn.xlarge instance type is recommended as a starting point. While the tooling offers automated quota increase requests, manual increases are suggested if capacity remains insufficient. For details, consult the AWS GPU instance documentation.
5. Domain Registration in Route 53
A registered domain in AWS Route 53 is required for secure access via the Application Load Balancer (ALB). You can register a new domain through AWS Route 53.
6. VPC
Create a Virtual Private Cloud (VPC) or use your account’s default VPC. Private subnets should have NAT Gateways; ALBs deploy to public subnets. Reference the VPC ID as var.vpc_id.
Simple Setup – Use APrime’s Open-Source Module
Quickstart Script & Terraform Module
APrime provides an open-source Terraform module to streamline deployment. Start by cloning the demo repository and running:
> ./quickstart.sh
The script presents configuration options with defaults shown in parentheses:
Domains available:
"yourdomain.click"
Running: pipenv run cookiecutter .
  [1/10] project_slug (demo-llm):
  [2/10] region (us-east-2):
  [3/10] name (inference):
  [4/10] domain (): yourdomain.click
  [5/10] vpc_cidr (10.0.0.0/16):
  [6/10] Availability zones you want to use as a comma-separated list, uses all AZs in the region if left blank. ():
  [7/10] text_generation_inference_discovery_name (text-generation-inference):
  [8/10] text_generation_inference_port (11434):
  [9/10] nginx_port (80):
  [10/10] Enter the name of an S3 bucket you want to store your terraform state in (we will create it if it doesn't exist). If empty, terraform will store state locally. (): your-tf-state-bucket
The setup uses cookiecutter to provide a user-friendly configuration interface.
After templating, Terraform will show the planned changes:
Plan: 88 to add, 0 to change, 0 to destroy.

Changes to Outputs:
  + alb_dns_name = (known after apply)
  + ui_url       = "inference-tgi-open-webui.yourdomain.click"

Do you want to perform these actions?
  Terraform will perform the actions described above.
  Only 'yes' will be accepted to approve.
Upon completion, the script verifies the UI is operational and provides connection details:
Apply complete! Resources: 88 added, 0 changed, 0 destroyed.
alb_dns_name = "inference-tgi-open-webui-123456.us-east-2.elb.amazonaws.com"
ui_url = "inference-tgi-open-webui.yourdomain.click"
Checking UI (https://inference-tgi-open-webui.yourdomain.click) is up!
https://inference-tgi-open-webui.yourdomain.click is up!
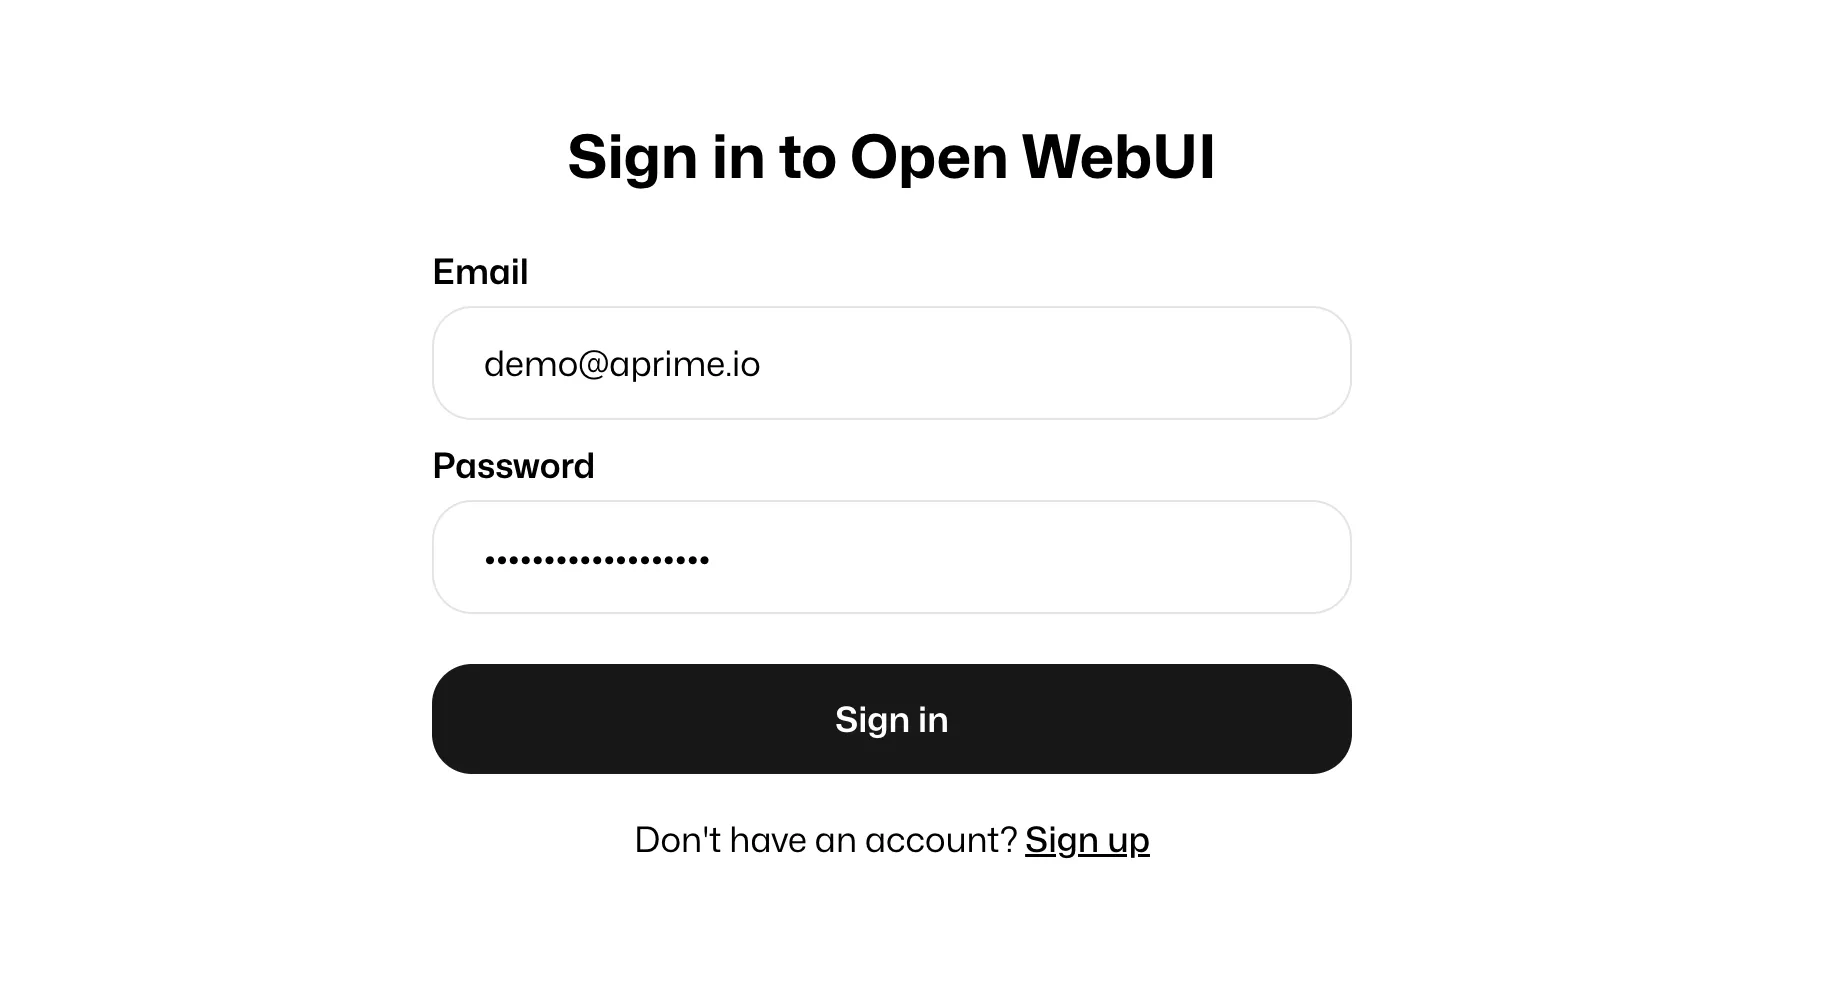
Go to https://inference-tgi-open-webui.yourdomain.click and sign up for an account. The first email + password you put in will create an admin account!
Don't forget to run the following when you are done: ./cleanup.sh
Using the UI & Admin Setup
Upon first visit to the UI, you must establish an admin account. The initial setup is important since admin credentials manage configurations and user access for AI models. Follow the self-guided registration wizard to create your admin user.
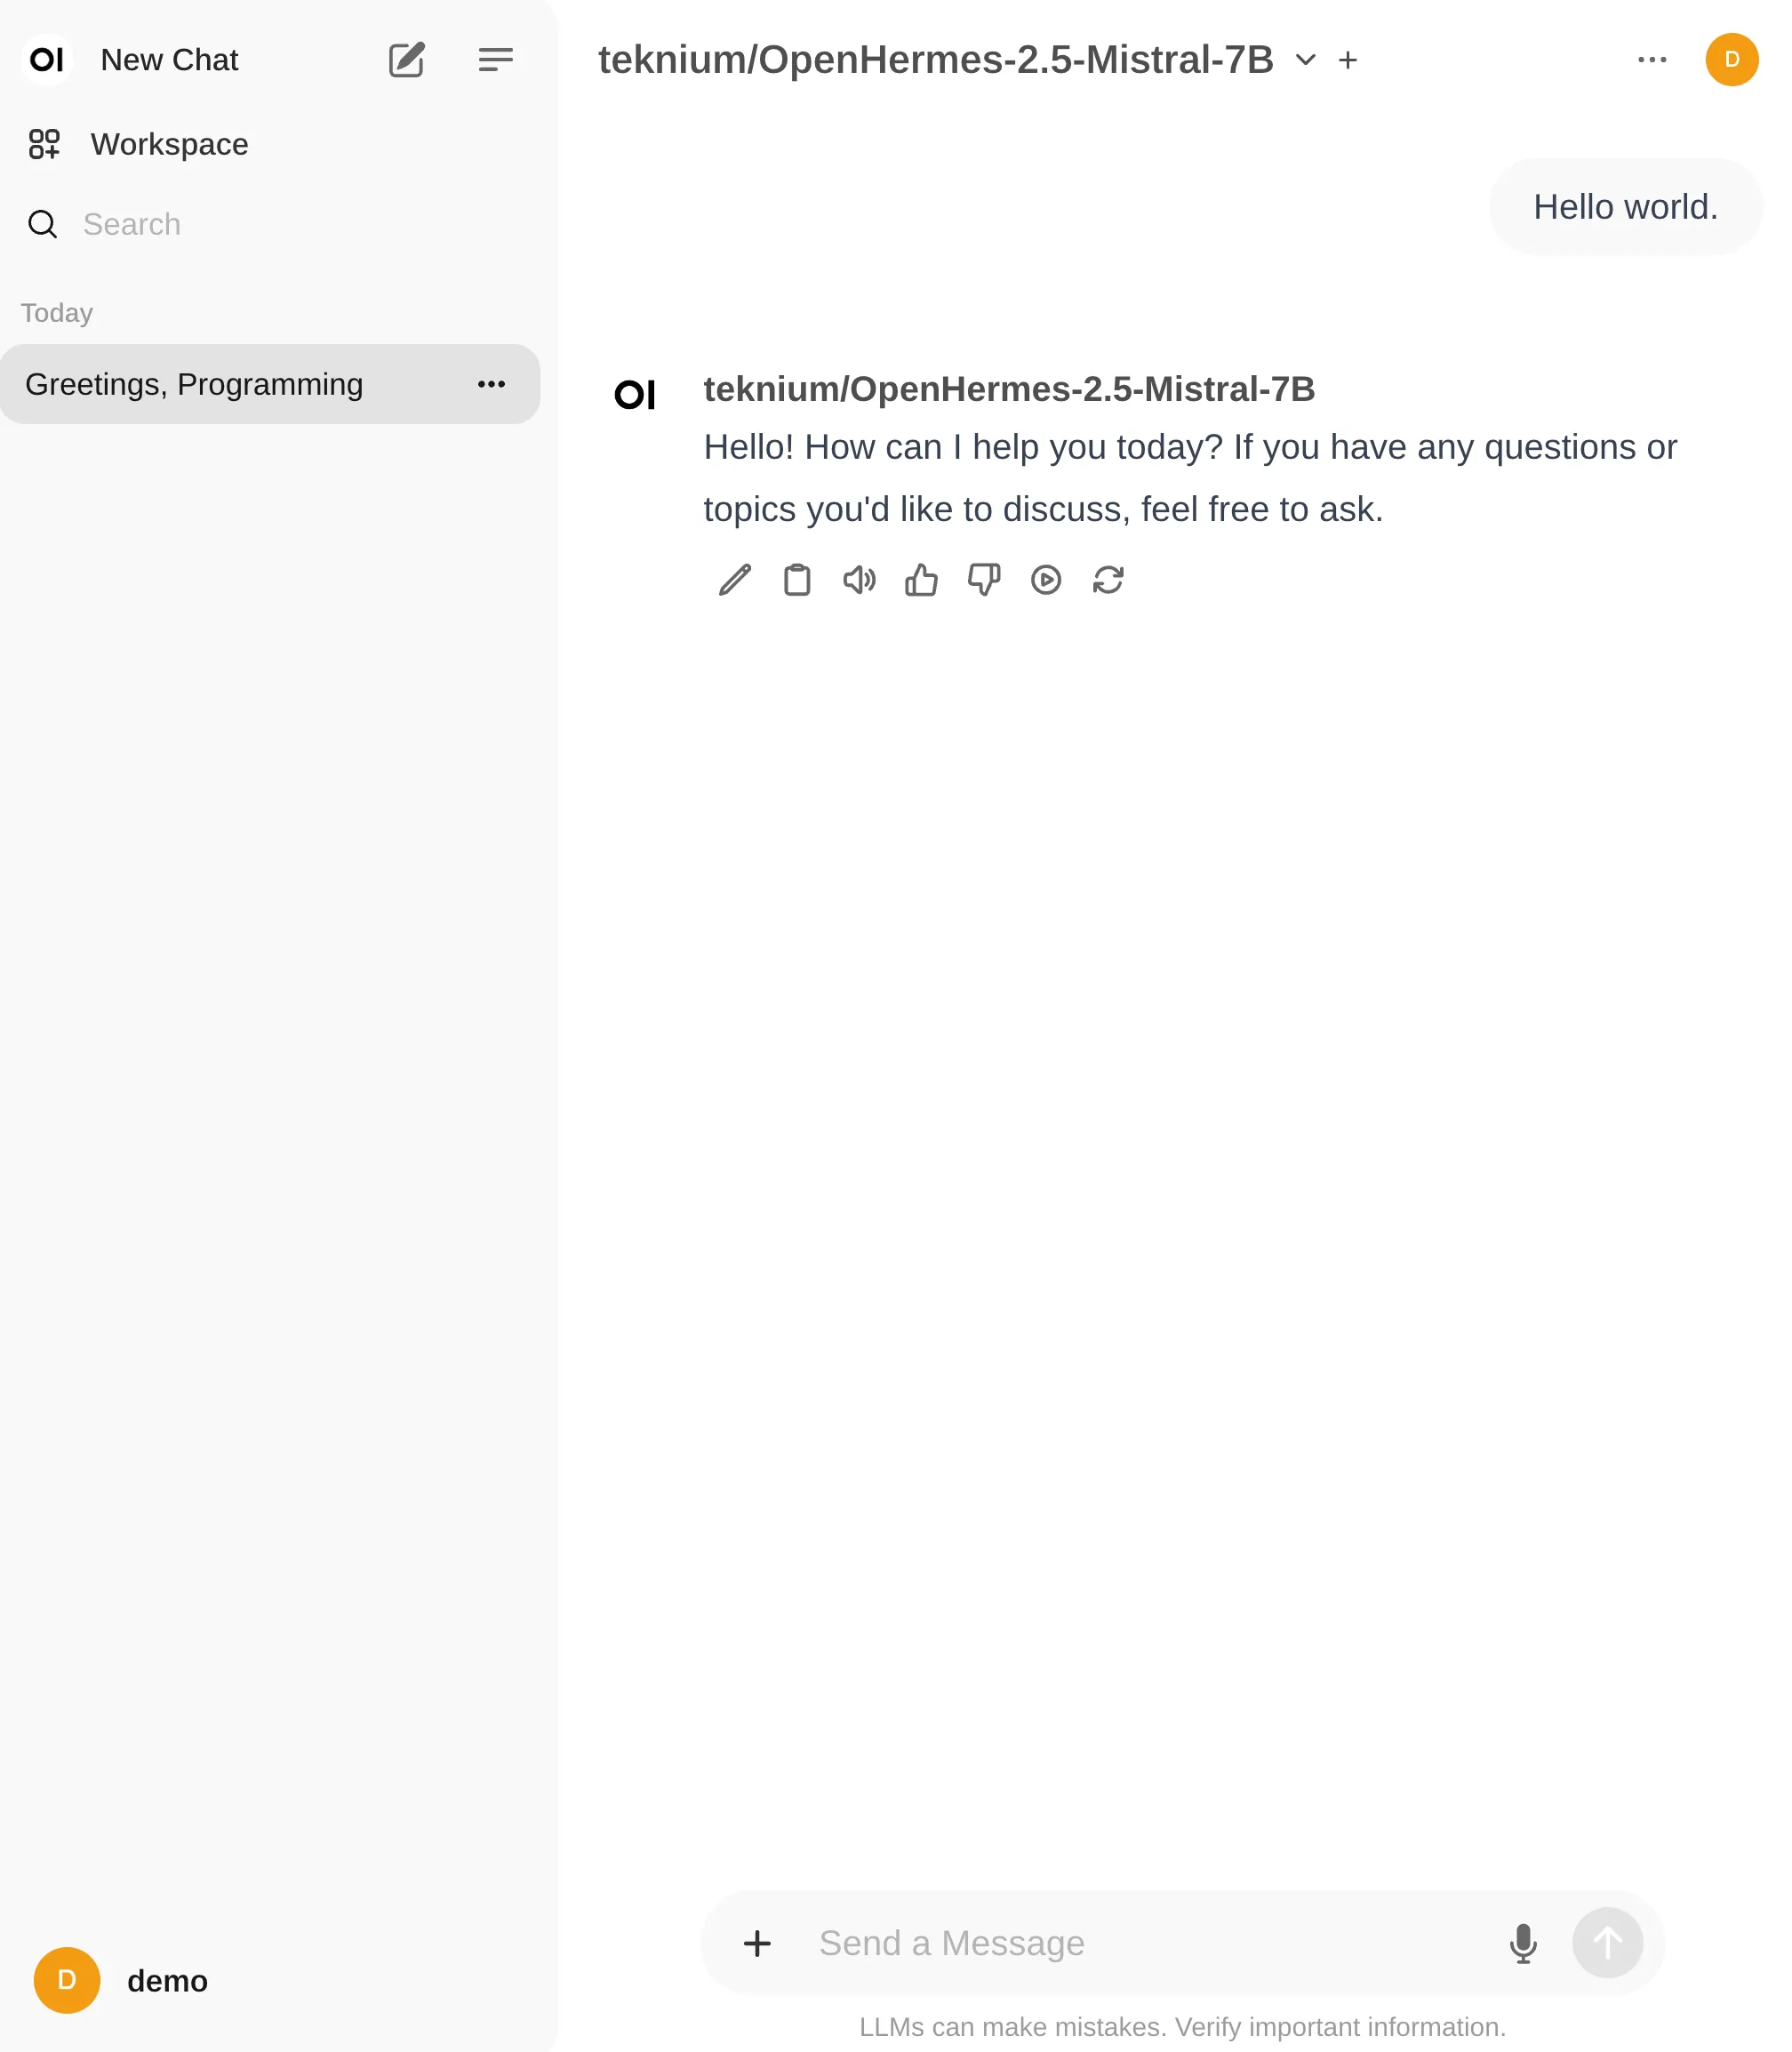
After logging in, select a model from the dropdown menu at the top:
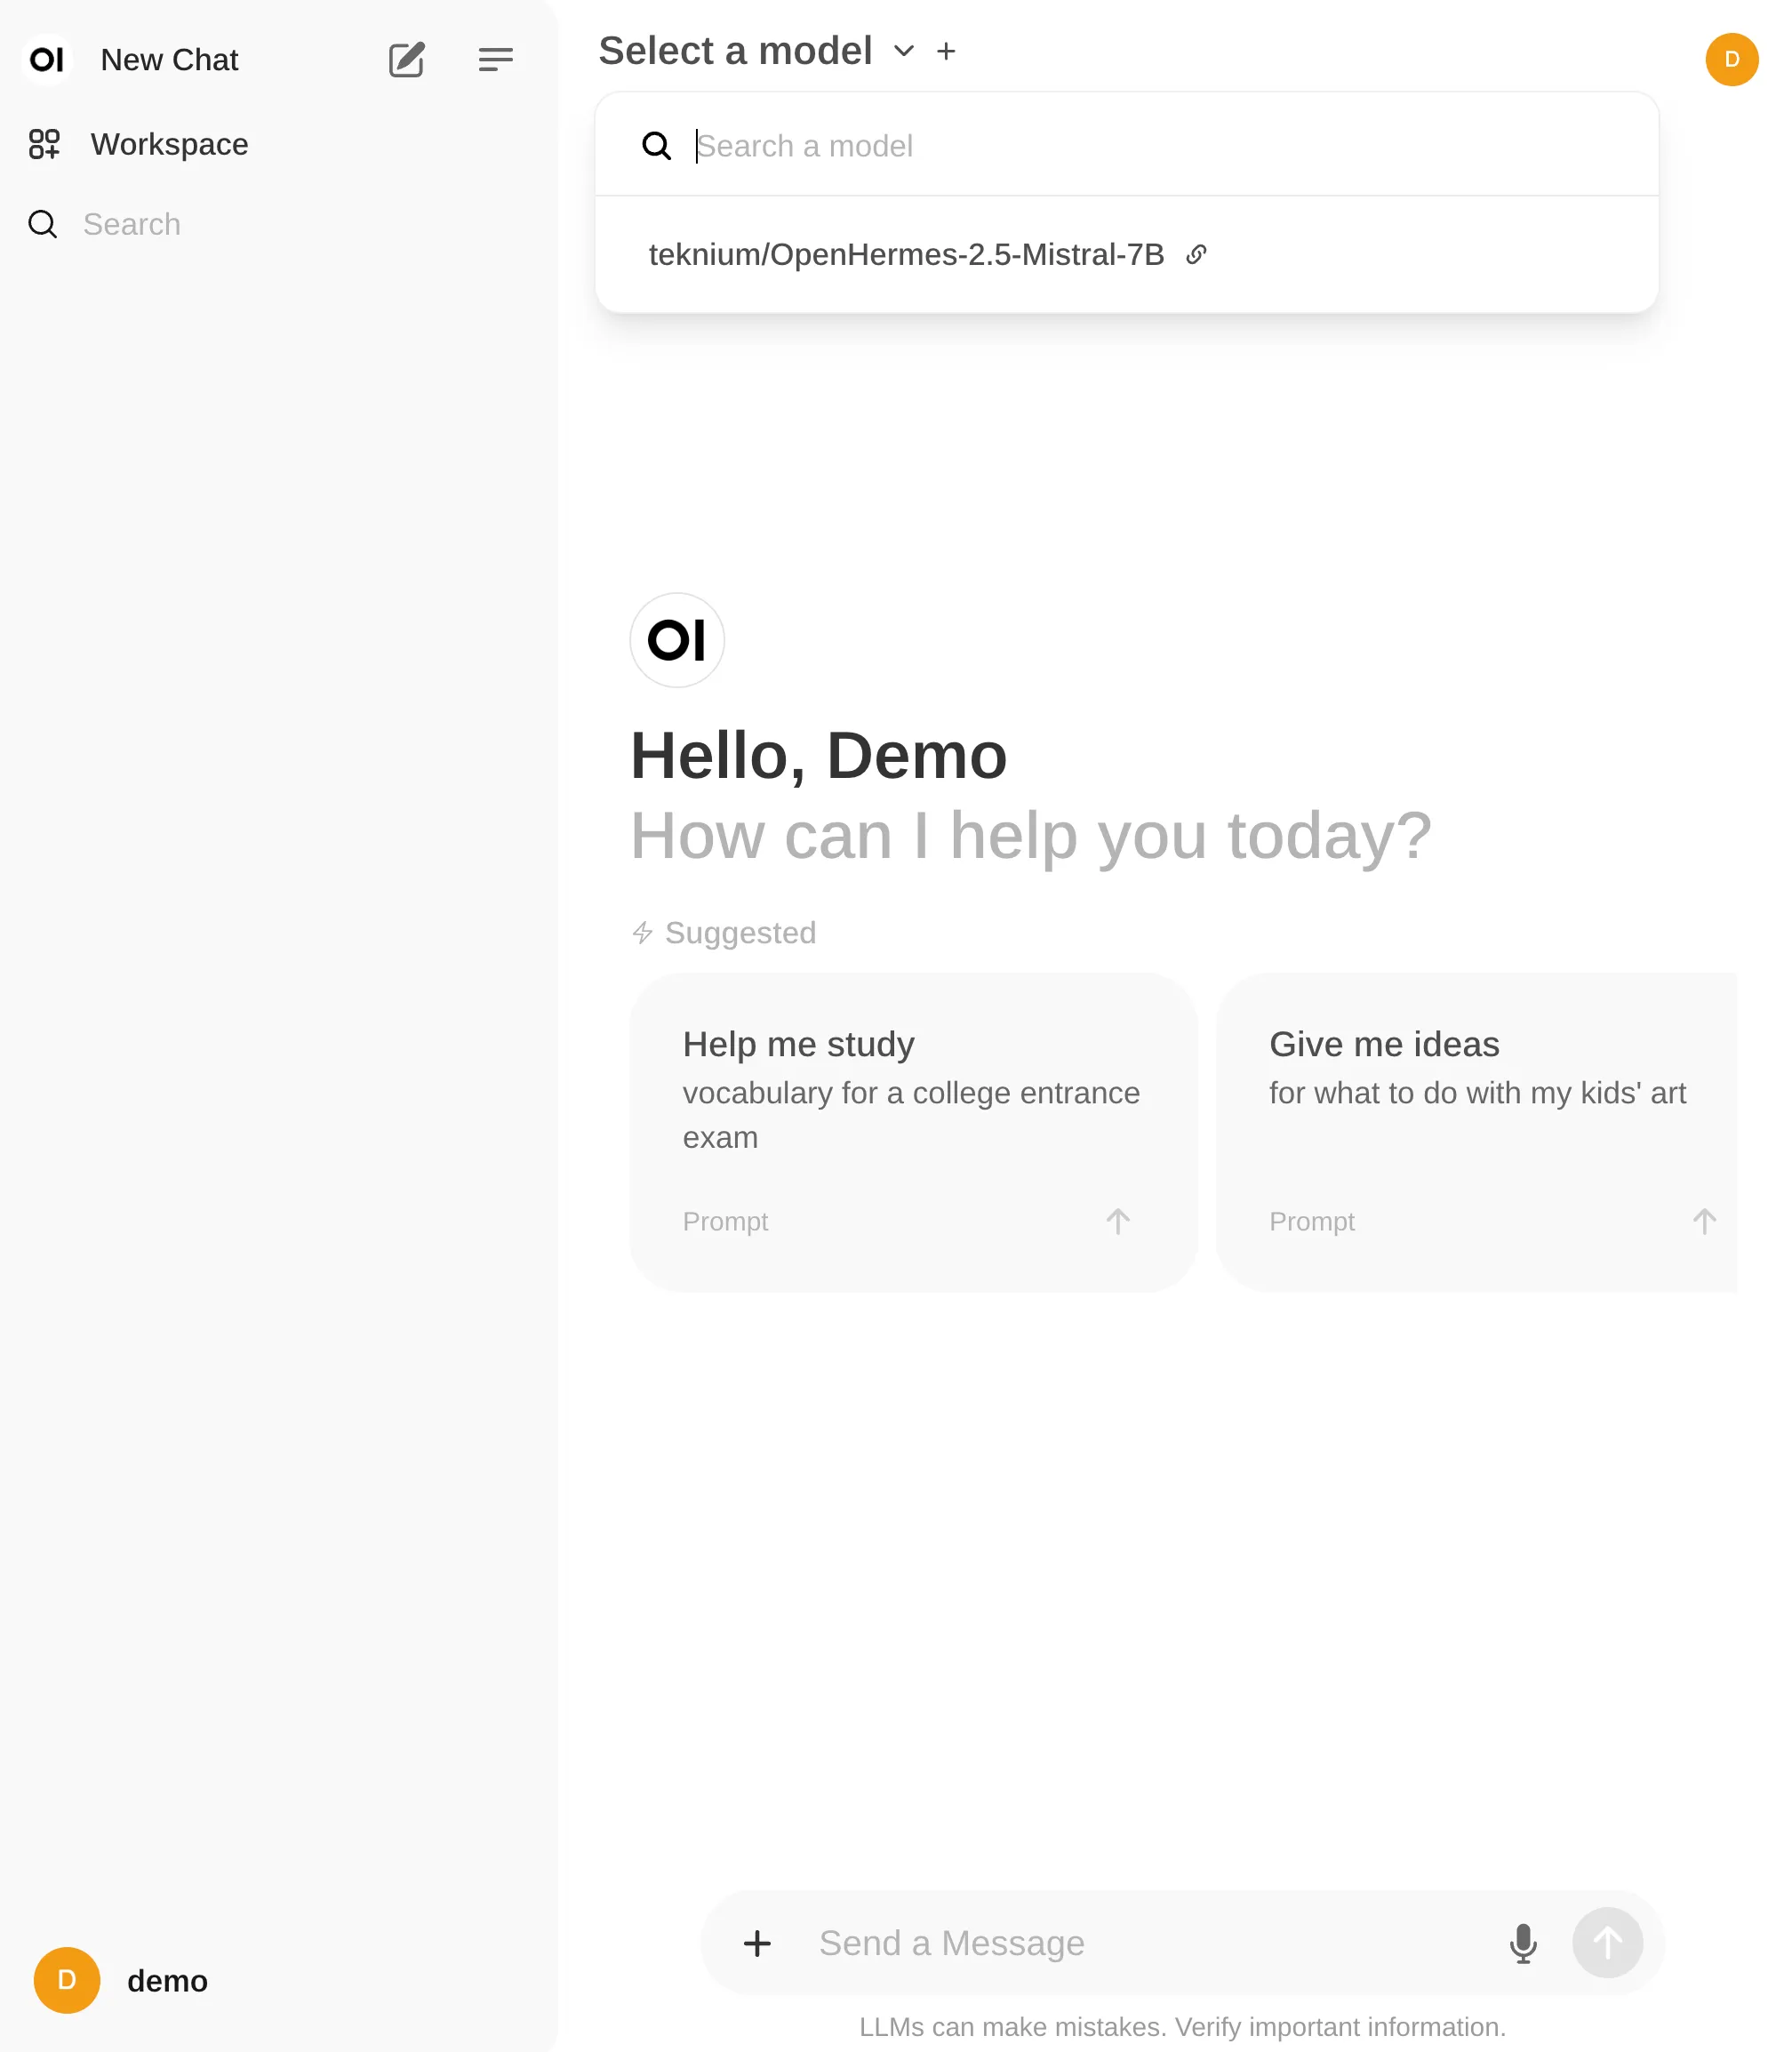
Once selected, you can begin interacting with your AI model:
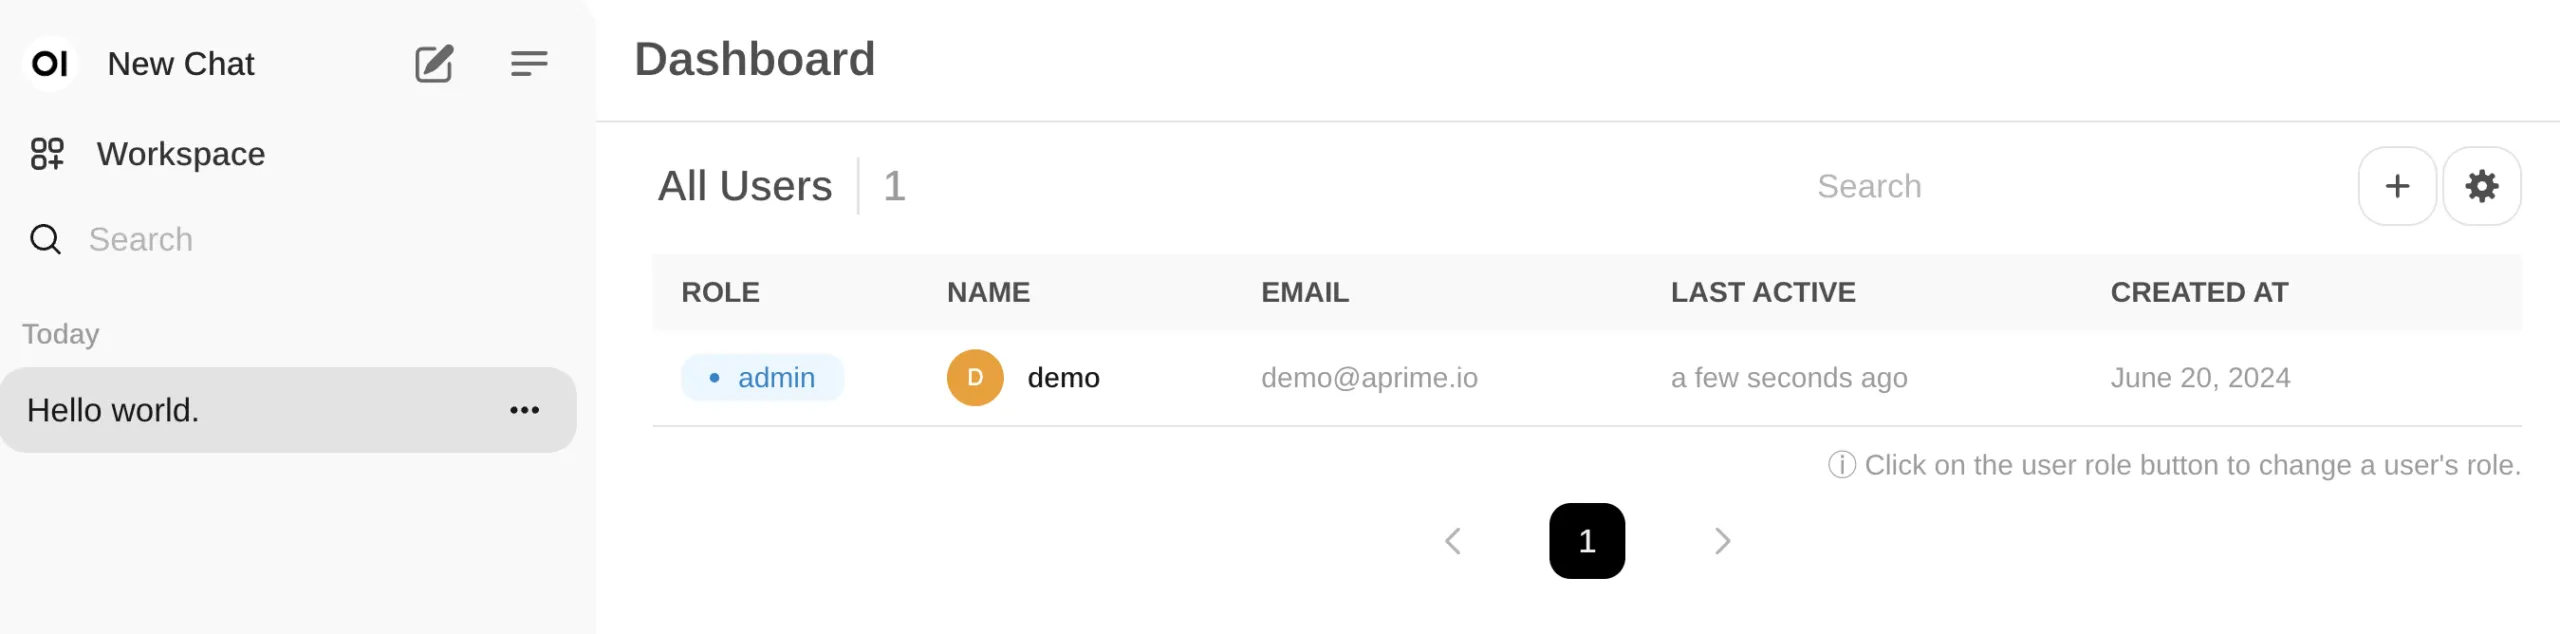
To manage additional users or restrict access, select the settings menu in the top right corner to access User Management:
Cleanup
The repository includes a cleanup.sh script that tears down all created resources, including:
- All resources created by
terraform apply. - The S3 bucket for Terraform state storage (if created by the script).
Future Enhancements
Planned follow-up posts and open-source tooling will address:
- Fine-tuning pipelines.
- Retrieval-Augmented Generation (RAG).
- Monitoring TGI with Prometheus.
- Creating user-facing chatbots on top of private models.
For suggestions or feedback, open a GitHub Issue or email llm@aprime.io.
Star the repository and follow APrime on GitHub for future updates. See Part 3 for a detailed implementation discussion.
APrime is Here to Help
APrime works with companies of all sizes, offering flexible engagement models from fractional leadership to full team embedding. We specialize in AI/LLM innovation and problem-solving.
Schedule a call with APrime’s founders to explore how to leverage this technology for your organization.